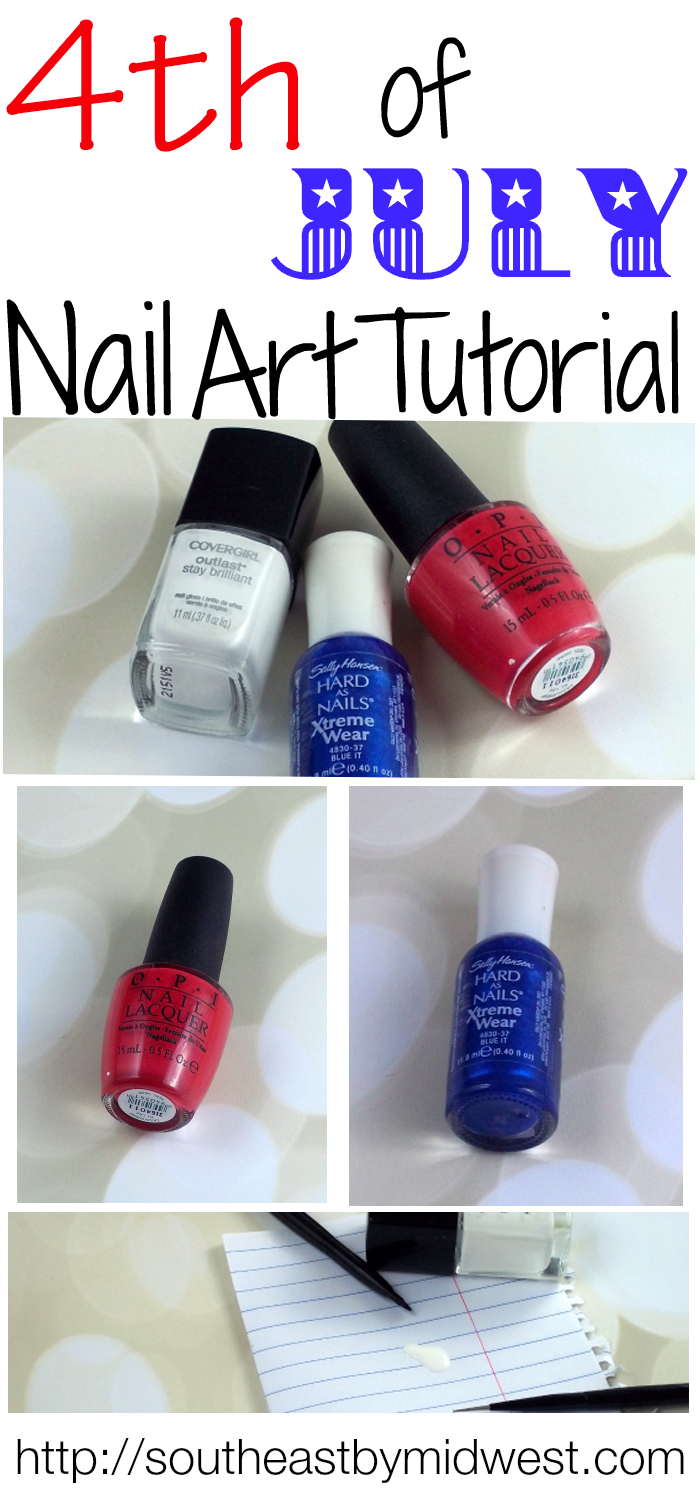
It’s been awhile since I’ve done a nail art tutorial post and since I have plans to cover more nail polishes I thought doing another nail art would be a great idea. Due to the fact that the 4th of July is in a few days and America is participating in the Fifa World Cup of Soccer I thought a 4th of July Nail Art Tutorial would be a great idea.
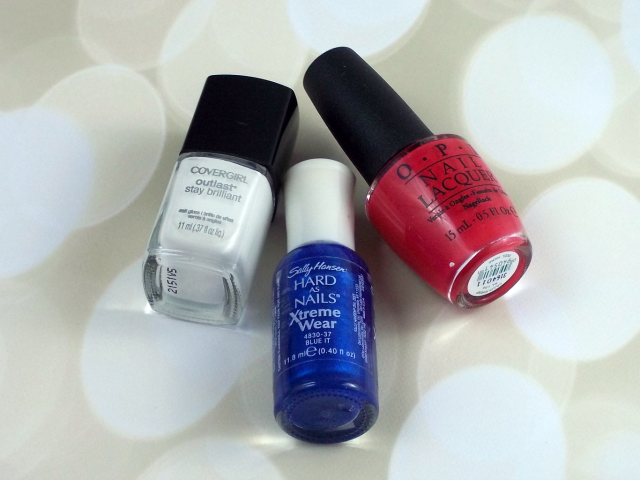
For this tutorial I will be using three polishes; CoverGirl’s Snow Storm, Sally Hansen’s Blue It, and OPI’s Cajun Shrimp. I felt that these three particular shades from my collection best represented America’s Red, White, and Blue. Now if you don’t have these three shades that’s fine, use what you have.
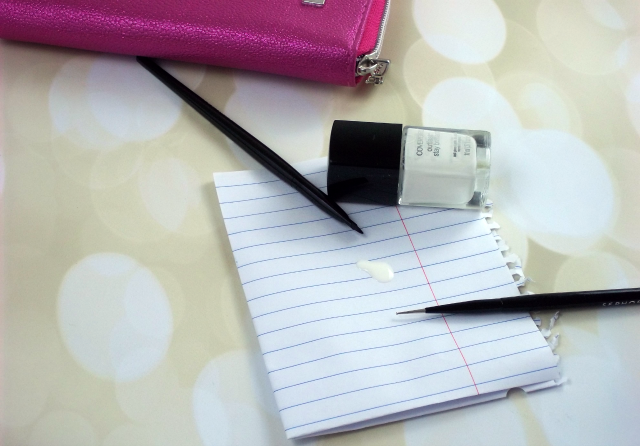
Also, for this tutorial I will be using a couple of nail art tools. I will be using a dotting tool and a straight edge brush from the Sephora Kit that I got for my birthday. If you don’t have either of these tools you can use a toothpick to make the dots and the edge of a business card to help with your lines. (If you’d like a tutorial on how to do this let me know in the comments.)
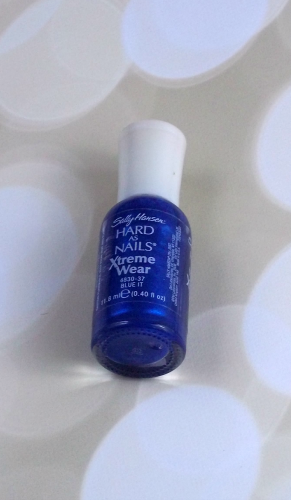
The first polish that we’re going to use is our blue. As I mentioned I’m using Sally Hansen’s Blue It for mine as it’s the most patriotic blue.
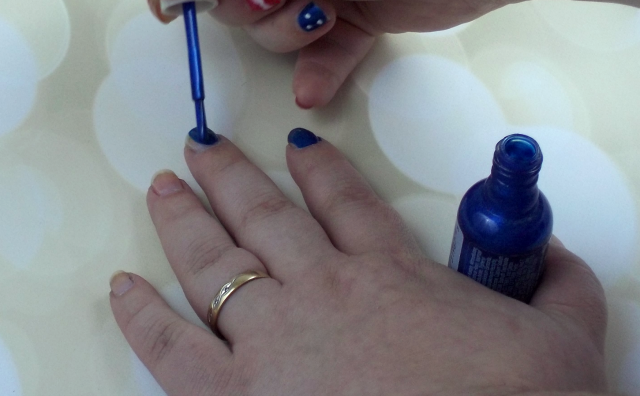
With our blue we’re going to apply two coats to all the nails but the ring finger. Apply your first coat, let it dry, and then apply your second coat. You want to make sure that you’re letting the polish dry in between both coats or it will windup being sticky.

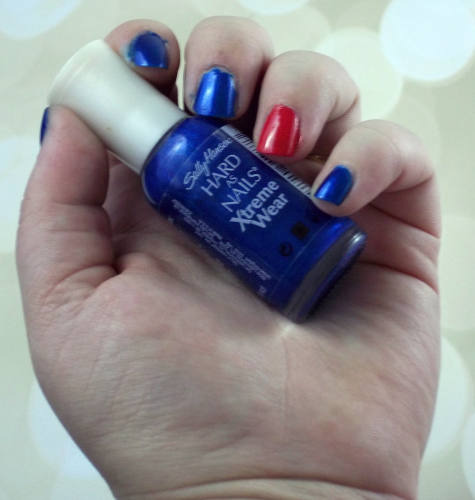
The next polish that we’re to use is our red. The red that I’m using is OPI’s Cajun Shrimp. I’m using this one mainly because it’s my favorite red! Also, though I felt this was just about right on the red spectrum for the shade of red that the flag is. Remember you don’t want to go to close towards maroon and it have be to dark nor do you want to go to close towards pink and have it be to light.

With the red we’re going to apply two coats to our ring finger. Now if you can see it in the pictures, for my right hand I reversed what I’m doing on my left hand. So if you decide to do that you’d want to go ahead and paint the ring finger on your left hand with two coats and all the nails on your right hand except the ring finger. Remember though you want to make sure that each coat is dry before applying the second coat.
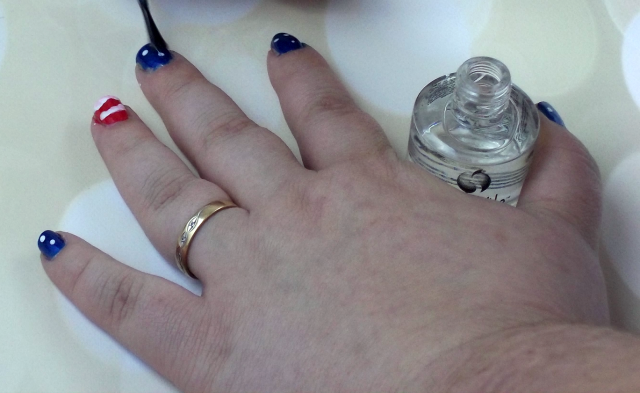
This is what you’re nails should look like once you’re done applying your blue and red. If you’d like you can just leave your nails like this and call it done. However, if you want to take your mani up another notch then keep reading to see how to apply some nail art designs to your mani.
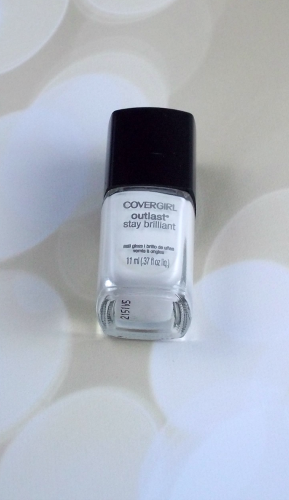
The last polish that we’ll be using is our white. For mine I’m using CoverGirl’s Snow Storm because it was the first pure white that I could find. Another good one to use would be Sally Hansen’s White Out. You just want to be sure that it’s a pure white and doesn’t have any kind of shimmer or glitter pieces in it. At this point is where you’re going to want to break out your tools.
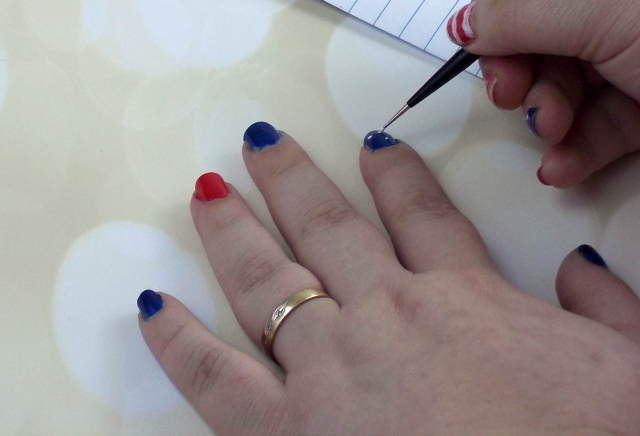
The best way to use a dotting tool is to start out with a sheet of notebook paper folded into fours. You then want to take a little bit of your white polish and pour it onto the paper. You then want to dip whatever you’re using for your dotting tool into the polish, making sure you have a good amount on there, and then just dot the tip onto the nail. Depending on how much polish you picked up you might able to get more than one dot out of a dip. If you run out of polish then just redip.
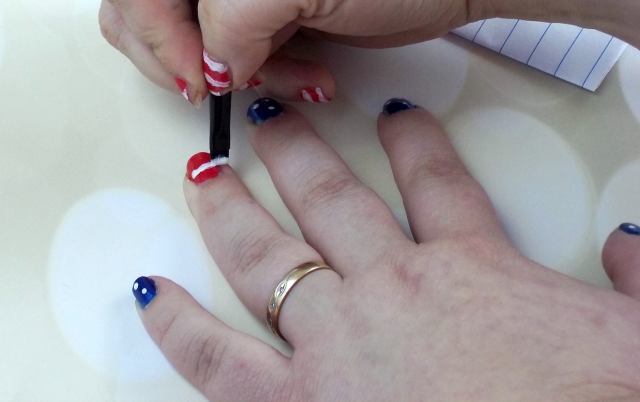
For the stripes you want to use a flat edge brush and make sure that you have ample polish on the brush. If you don’t have enough polish on the brush it will smear. You just find a good starting spot on the edge of the nail and swipe across to the other side in one quick swipe. If you make any mistakes use some pointed Q-Tips to fix.
Once you’re done with your nail art design you want to make sure that you set with a top coat to seal your manicure. I’m using Seche Vite’s Top Coat which I find gives me my longest manicure. You can just use your favorite top coat.

This is what the finished 4th of July mani looks like. I think having the red with the white stripes really makes the blue with the white dots pop more. Hopefully you liked this 4th of July nail art tutorial, if you did make sure to tell me below what nail art tutorial you’d like to see in the future.
If you liked this nail art tutorial check out my other nail polish posts
- Fall Nail Art Tutorial
- Halloween Nail Art Tutorial
- Julep Bess Swatch with Julep Bunny
- OPI Hey Baby Swatch and Review
- Color Club Safari Sunset Swatch, Photos, and Review
Also be sure to check out my Beauty – Nails board on Pinterest

Like the design. Not much on decorating my nails, but my granddaughter loves it.
LOVE IT!! They came out awesome and I think I am totally gonna steal your idea.
I love that design you did a great job.I love having my nails done but no good at doing them lol.
I’ve seen some people draw stars on there and I have no idea how they can have such a steady hand. I love the idea of a patriotic theme.
I need to get some of those tools. That looks like fun to try.
I like how you incorporated the red. It’s such a cute and simple design for the holidays!
I have a weakness for patriotic manis! I love yours! <3
What a great idea! I definitely will be attempting this for the fourth!
Love the polka dots and stripes mix! Your nails look so cute for the 4th!
http://www.darlingdailyblog.com
This is such a cool idea! I’m passing it along to my mother-in-law. She’s all about various designs on her nails. (And this looks so easy!)
Cute idea for the 4th
i hardly ever do anything to my nails except one coat of polish. very cute
I love it!
Wow, this is a great concept!! I need to get some of those fancy polish tools myself!
Looks so good!!
xo caro, the caro diaries
Thank you for this! I keep seeing all of these adorable nails and I have no idea how to do it. I’ll have to give this one a try.
I still haven’t painted my nails for the 4th. I was going to go with just red, but I might have to try this!
xo Marina,
Earth to Marina
Very creative! I think I’ll do my toes for the 4th of July.
I like the idea of painting my nails to embrace the holiday spirit, but my hands are not very steady and whenever I paint my own they always look a hot mess. Maybe I could talk one of my sisters into giving me a mani similar to this.
What a festive design! I love that. I will have to try it on my daughters.
Jeez look at you go! Considering I’m an adult and still can’t “color inside the lines”, nail art is way way over my head…but yours looks super cool, love it!
Super cute and looks easy! I might actually try this one on my toes!
So cute, I love this!
I love that blue color! It’s so vibrant!
Adorable! You literally picked the perfect red, white, and blue shades… absolutely on point for the 4th! 🙂
xo,
Stephanie
Diary of a Debutante
http://www.thediaryofadebutante.com
That is a cute and fun idea. Thanks for sharing. Your nails are so festive now.
Gotta love some patriotic manicures. I love that you did the full blown tutorial. I am totally trying that out. Great idea.
What a fun & cute design!!
I love OPI and Sally Hansen polishes! I definitely need to get my nails ready for 4th of July…I might just do a post on it myself…thanks for the inspiration!
Your nails look great! Everyone will be looking at your nails on the 4th of July instead of the fireworks 🙂
They look fantastic. I think even I could do that design.
I am loving your patriotic nails! My best friend is always doing designs like this on hers. She would love this tutorial!
My daughters love nail art, so I’ll show them this for inspiration. I think I have a red polish problem, so I probably have three that would work!
The design is cute and very patriotic. I tend to stick to the regular (boring?) pinks and reds, though.
Oh, this is SO cute! I may have to attempt this!
Pretty colors!!! Love the nail art.
I love the color combo! So bright and cheery for the season
Nice design. I could stand to do some more stuff with my nails.
Cute and easy mani for sure!
Your nails are super cute! I am horrible at painting my nails- I get paint everywhere!
This looks easy to do!
My daughter has really gotten into the nail art 🙂 I like the designs. The red and white stripes is good. I’m a stripe lover
cute mani!
I like those, they turned out great. Now you’re ready for the holiday. 🙂
Thanks for sharing this tutorial. LOVE your patriotic manicure idea.
This is a great idea for this upcoming weekend. How festive and fairly easy to do.
So fun! You must have such a steady hand. I’m the worst at painting my nails. This looks so great!
That is so cute. My daughter likes to do her nails for holidays.
I’m always too scared to put patterns on mine. I should just do it though!
I was just thinking of trying a design like this today! I ended up doing a crafty paint project instead so I guess it’s good I waited! You did a nice job!
go red, white, and blue!
I am terrible at doing anything to my nails. This looks so cute!
Very cute! I love dressing up my nails for the holidays!
I really like how the red is on just one nail. I think I have some inspiration for the weekend!
So cute! I got a dotting tool recently and haven’t tried it out yet- I so need to though!
So cute! I’m not very good at doing my nails though. I love this design and tutorial though.
Love it!
So, cute and this looks like something I can do.