With a lot of places going into “shelter-in-place” in order to slow the momentum of COVID-19, non-essential stores have been closed. This means that hair salons, nail salons, and many other businesses are closed. While we’re going to be doing a DIY Home Manicure, I still HIGHLY suggest that if you have a regular hair stylist or nail tech that you use, if you can, still continue to pay them even if you aren’t going to your regular appointments. While I did study cosmetology and can work with clients, I am blessed to have gotten a full-time job working with computers and am currently telecommuting. Not all cosmetologists are that lucky right now. I do want to say before we begin that salons are different with what they offer for manicure services. What you see here are the steps that you do in a State Board manicure to be licensed to be a Cosmetologist. Don’t come at me with “But my nail tech doesn’t do all those”, okay well that’s not my fault. Also, don’t come at me with “But my nail tech does this extra stuff”, there are steps that I will be skipping like the hand soak, the brush clean, and the lotion because you’re doing this on yourself so if you can dip in your left hand in a bowl of warm water and let it soak while still working on your right hand then you go ahead your bad self. Now let’s continue with this DIY Home Manicure.
Remove Polish
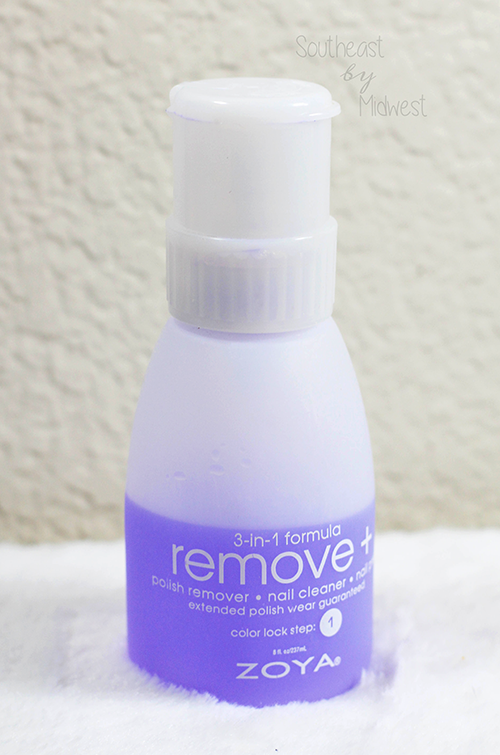
The first step in our Home Manicure is to get rid of any previous polish that may be left. My favorite remover is the Zoya Remove+ Nail Polish Remover which can be purchased from Zoya or Ulta. I recommend getting good quality cotton rounds to use for this step and for later as well. Please do NOT use cotton balls. This is helpful because shedding cotton from cheap cotton rounds can get stuck around the edges of the nails. There are a set of OPI Expert Touch Lint Free Nail Wipes sold from Amazon that work really well, they just don’t work on my nails.
Shape and File the Nail
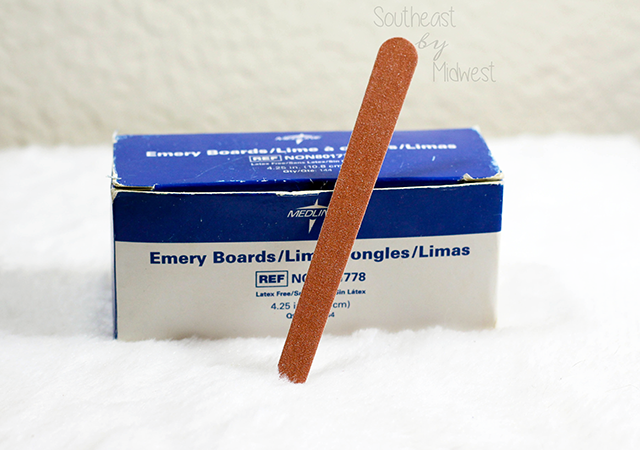
After removing the polish from the nail you’re ready to shape and file the nail. If you’re not wanting the length you currently have you’re going to want to clip the nails before shaping them. I don’t really have a recommendation here, just make sure that you keep these clean because if you accidentally nip your finger you don’t want to do it with dirty nail clippers. As for the nail file, I prefer a crystal nail file but don’t currently have one. For cosmetology students or free lancers just starting out I recommend the Medline Emery Boards from Amazon. You get 144 nail files for $9.00 which means discarding after each client won’t break the bank. Before you start filing please check the video above for a tip on how cosmetologists are trained to file the nail.
Cuticle Remover
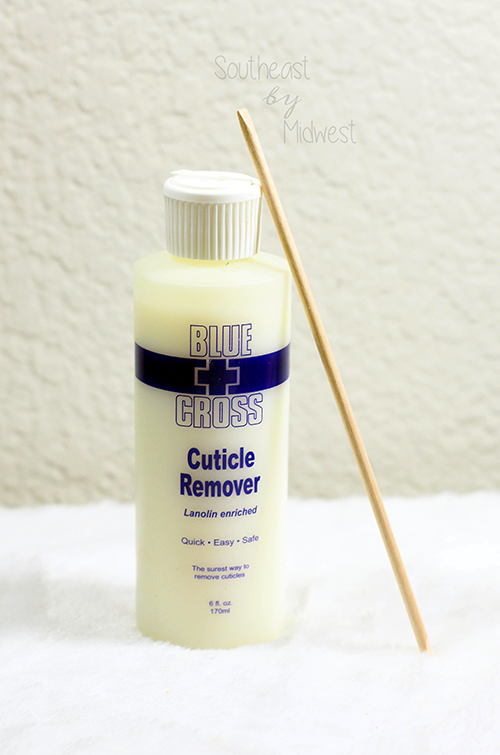
After the nails are the length and shape you want you wash and dry your hands to get rid of the nail dust that might be lingering. Either way, the next step is to use a cuticle remover on the nail itself, not the skin. Check the above video to see what I mean. I’m currently using the Blue Cross Cuticle Remover but I don’t have a loyalty to a specific cuticle remover. I like to let the remover set for a few minutes before going in with an orange stick or a cuticle pusher to shape the area around the nail. Again, check the video to see how to do this.
Cuticle Oil
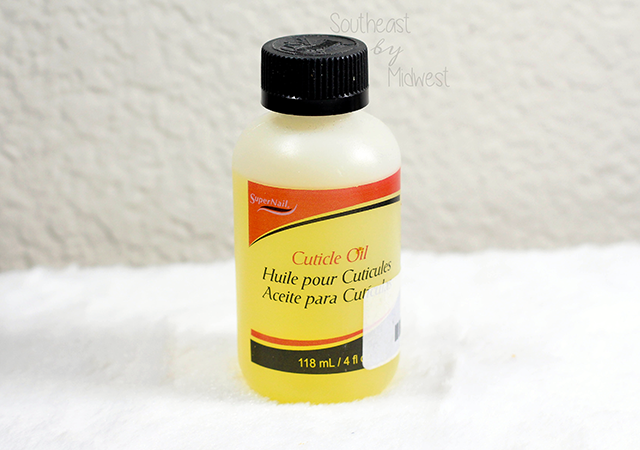
Once you are done shaping the area around the nail you are going to want to wash and dry the hands. Usually a dip in water and a brush down with a nail brush would accomplish this but in all honesty just going over to the sink and washing your hands with some soap and water is okay for a home manicure. Once your hands are dry you can go in with a cuticle oil. While I have a value sized one here, I don’t honestly recommend this for anyone who doesn’t do nails on a regular basis, unless you are planning to get a different container to put it in. I do recommend either the Essie Apricot Cuticle Oil or the Pacifica Coconut Rehab Nourishing Cuticle Oil for an easier to use option. Check the above video to see how and where to apply the cuticle oil.
Nail Cleanser
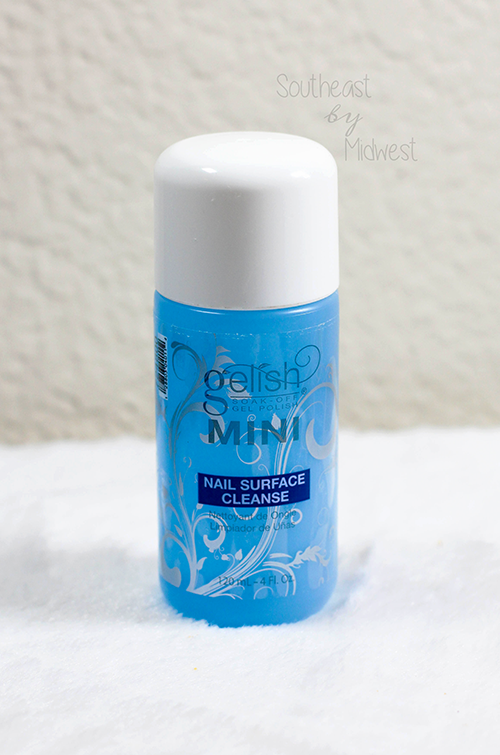
Once you massage the cuticle oil into the skin you’re probably going to have gotten some cuticle oil on the nail, however, you’re not going to wash your hands again because you’ll just remove the cuticle oil on the skin but you need to get the oil off the nail otherwise the polish won’t last long. A few years ago I found the Formula X Nail Cleanser but that has been discontinued. Now I use the gelish Nail Surface Cleanse which is supposed to be used with gel manicures, however, it does the same thing as the Formula X so it works for what I need it. This is another place where you need cotton pads that are good quality as you’re going to put the cleanser on it and swipe it across the nail. If your cotton round sticks to your nails it’s going to make the base coat a bit tricky.
Nail Polish
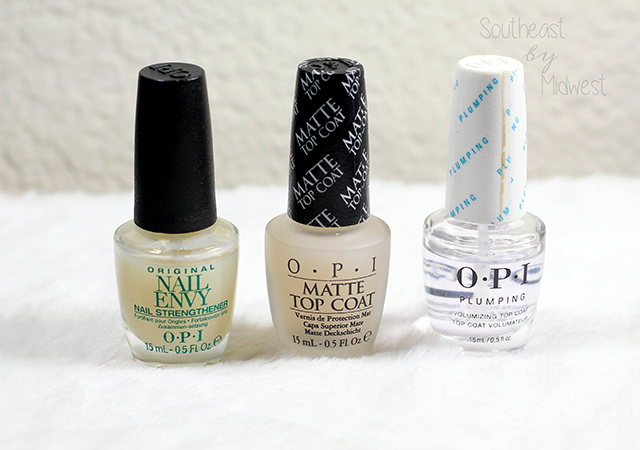
Speaking of base coat it’s time to get down to the actual polish! For this step, well for all of them you can, you can use what ever base coat, polish, and top coat you have on hand. However, here are my favorites: for base coat I use the OPI Nail Envy Nail Strengthener, for top coat I use the OPI RapiDry Quick-Dry Top Coat for my regular top coat and the OPI Matte Top Coat. The RapiDry is not pictured here, the Volumizing Top Coat is. The problem is that the Volumizing Top Coat is usually only available in sets or duos.
Quick Dry
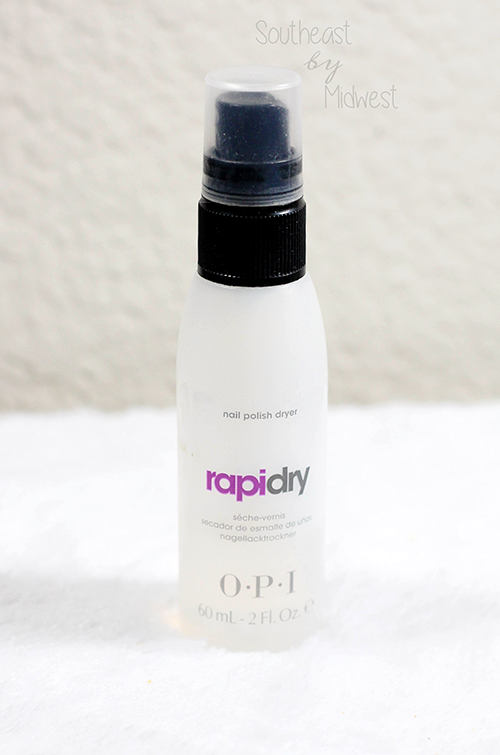
If you’re not using a rapid dry top coat then you’re probably going to want to spray your nails to get them to dry faster. Let’s face it, it’s a law of nature that as soon as you put on top coat you either have something start itching or you have to go to the bathroom. I highly recommend that you do NOT use the aerosol canned quick dry spray, in my experience they just don’t work. I recommend the OPI RapiDry Spray Nail Polish Dryer as it’s a liquid spray that you can just spritz across the nails in one go and it dries quickly. You can use the rapid dryers that use droppers but you have to do at least one drop per nail and the spray you can just do the claw, spray, and go.
Clean Up
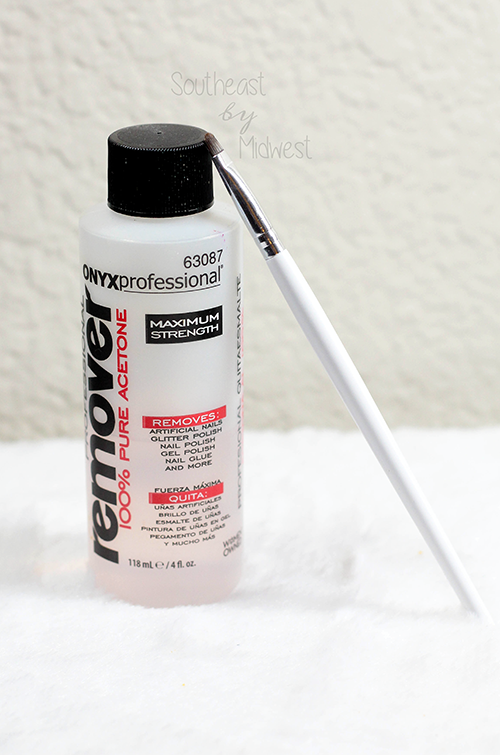
This step is fluid, you can do it after applying two coats of polish but before you apply your top coat, or you can apply the top coat and spray the rapid dry spray and then do the cleanup. For this you’re just going to want acetone (Ulta brand linked not the one pictured) and a small brush like the e.l.f. Concealer Brush (the white handled one with brown bristles). I dip the brush into a bit of the acetone and then clean the skin around the nail and even up around the base of the nail.
Nail Nourishment
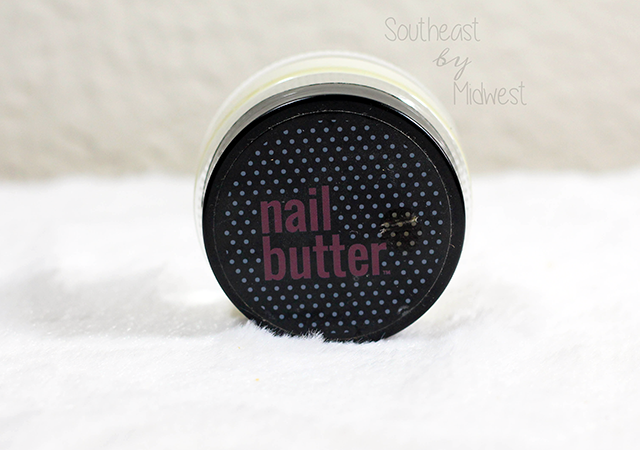
The last step in our DIY Home Manicure is to add nourishment back to the skin around the nail, especially if you used acetone to clean around the skin and base of the nail. I love to use Nail Butter, however, the Sally Hansen Nail Rehab Oil Cuticle Balm is an option but I’ve never used it so use at your own risk…
Check Out Other Posts: Nail Posts
Make sure to follow my beauty board on Pinterest!
Recently on Southeast by Midwest
-
- Beauty | Briogeo Sea Goddess Shimmer Mist
-
- Beauty | Tati Blendiful
-
- Beauty | Barielle Nourishing Nail Mask
I love Nail Butter, and ran out of mine a long time ago!
I loved it so much I bought another and that’s saying something because I HATE floral scents.
I found this post very informative, and I saw two of my favorite nail products: Zoya remover and Nail Butter. I have to get with the program and start dealing with my cuticles
My cuticles were very angry with me before I did this video. The last few weeks I hadn’t been messing with them and they were letting me know. In all honesty the best thing I’ve found is to put some cuticle oil in a watercolor brush kind of thing (indie stores will a lot of times sell their cuticle oils in what I’m talking about) and keep that near my desk and try to apply it at least once a day.
I need to get my hard gels off and try this!
Good luck with the gel removal!
Thank you for your help. I have no choice but to do my own nails now since it’s been a month since I went to the salon. They’ve grown out so much. Luckily only my hubby and I will see them but they might show in blog photos and that could be embarrassing.
People are always going to find a reason to complain for blog posts and videos. I always want to comment back with “well let’s see how you do your nails without help” since they’re always so judgey.
I rarely use a topper or anything to dry them quicker. But as you say nature calls – which I a right pain huh!
I usually do my nails at work on my lunch break or in the middle of working on other blog posts so I need them to dry quick. However, I also like to see how the polish works with different top coats and quick drying spray/drops. I have actually found some polishes that the spray just makes it super tacky to the touch and the polish comes off in a big slippery mess.