This shop has been compensated by Collective Bias, Inc. and its advertiser. All opinions are mine alone. #ToPetsWithLove #CollectiveBias
If you’ve been following me on SnapChat, SoutheastMidwes if you’re not, then you know that our Great Dane Lila is a big part of our lives and to say that she is spoiled would be putting it…mildly. Not only does she get “special” treats to go to puppy care when we leave for school but she also has holiday collars that she LOVES. The only problem is that stores are not very big on providing a huge variety of holiday collars and especially in her size. This year I decided to rectify that by making her a DIY Holiday Pet Collar and, just in case it didn’t turn out the way that I wanted, I treated her to some of her favorite treats and food! If you want to see how I made this DIY Holiday Pet Collar then keep reading!

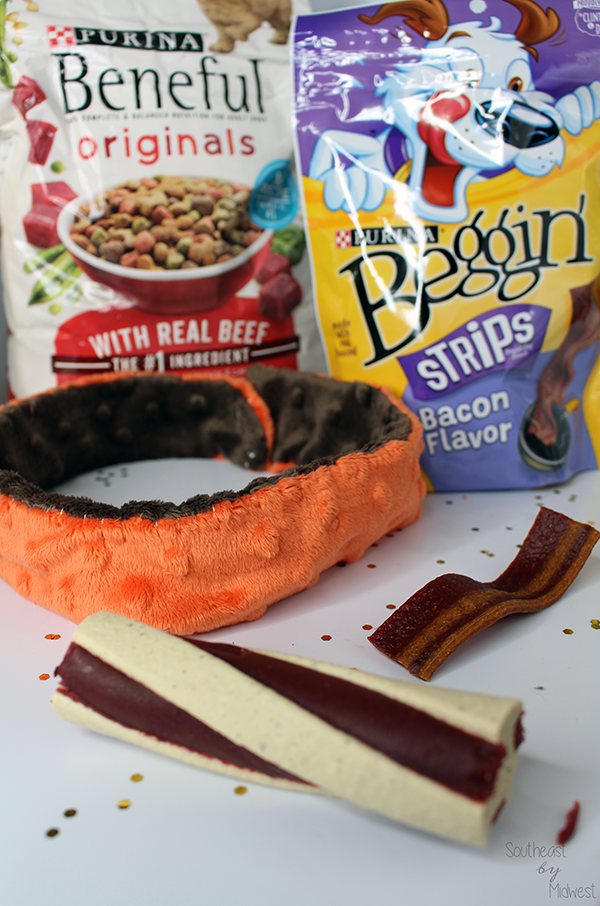
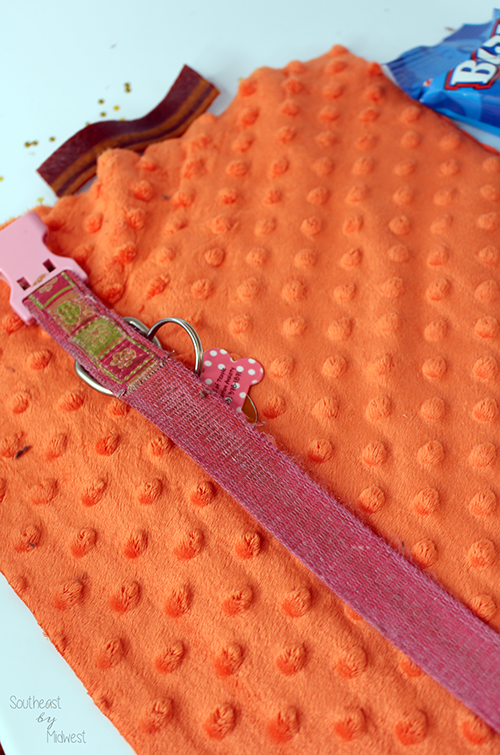
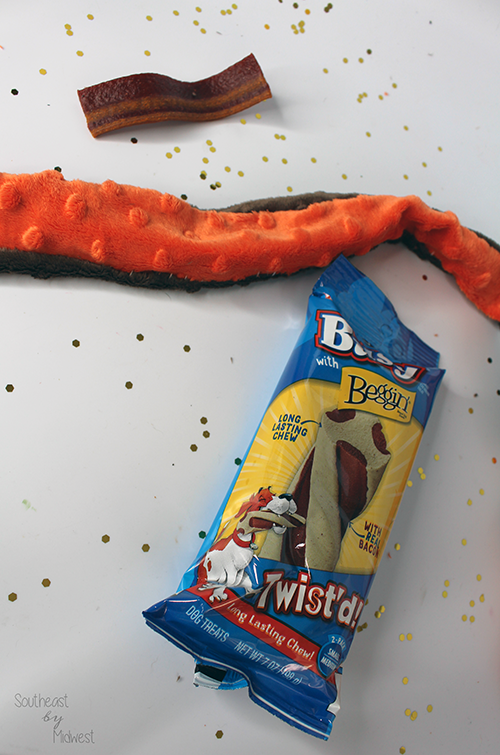
Before we get into how I made the DIY Holiday Pet Collar let’s talk about what all we’ll need. The first thing you’re going to want to grab is a collar that fits your pet fairly well and hopefully they’re more agreeable about giving theirs up. I’m not ashamed to admit that it took bribing with a few Beggin’ Strips, which is fine because they’re made with real bacon! We actually try to stick with foods and treats that have quality ingredients as we just think that it’s better to give her tasty and quality food to show her that she’s well loved.
You’re also going to need the following:
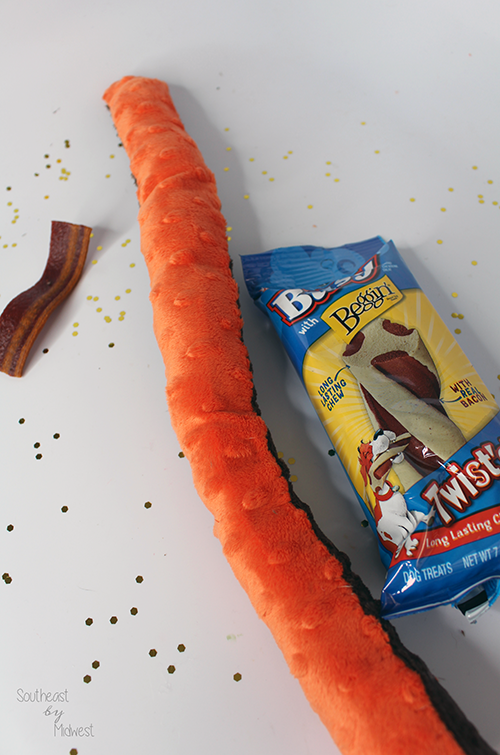
- Fabric a bit longer than the length of the collar
- Elastic
- Scissors
- Thread
- Needles / Sewing Machine
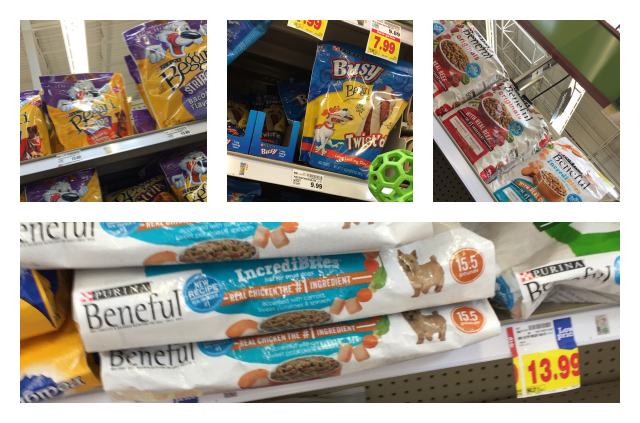
Once you have those materials we can get to work and if you’re like me and planning on sewing by hand and aren’t the fastest sewer you might want to pick up some dog food for your dog to grub on while you’re taking all the time in the world to sew. I picked up an oldie but goodie, Purina Beneful dry dog food, for Lila. I noticed that they have actually reformulated the Purina Beneful Orignals line to have no sugar added AND now meat is the #1 ingredient! I actually stopped at Kroger to purchase the Purina Beneful dry dog food as it was already on sale and I knew that I could pick up the food, her favorite Purina treats, and any toys I might want to get her without having to make another stop after the fabric store! To make it even better you can actually use Coupons.com to save more on Purina pet products at Kroger, while supplies last!
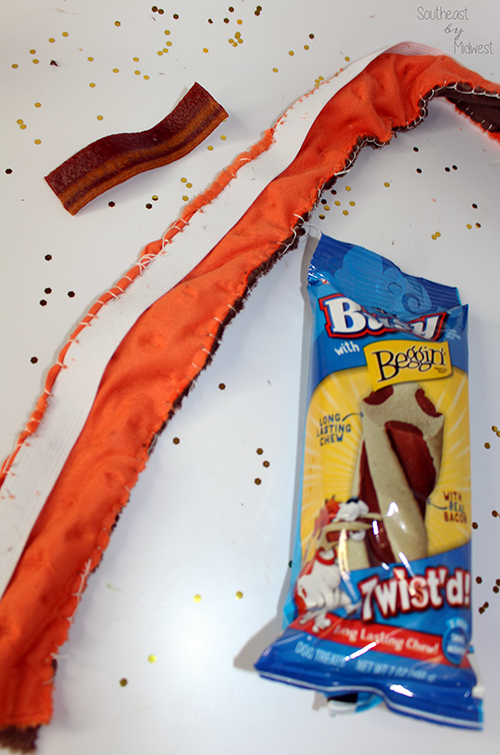
While Lila was chowing down on her Purina Beneful dry dog food I started to work on the DIY Holiday Pet Collar. I decided to sew the elastic to the actual fabric and boy did that take longer than I thought, however, it actually made for a sturdier collar so I’m glad that I did that. Basically I took the brown fabric and put it with the “pretty” side up, I then put the orange fabric on top of that “pretty” side down, and then on top of that I put the elastic. To hold them together I pushed the needle through from the back side of the brown fabric, through the orange fabric, and through the elastic BUT I didn’t pull it all the way through! Right before I pulled it all the way through I pushed the needle through the loop from the back of the brown fabric side and then pulled tight. I then started the process all over from the back of the brown fabric never going from the front of the elastic. I did that all the way down the long length of the “sandwich”, down the short length, and then when I got to the other long end I kept doing the same thing but minus the elastic this time. If you wanted to go with a thinner collar you could trim it down and attach that part to the elastic as well but I knew I wanted a thicker collar so I didn’t attach the elastic. Once I got to the end of that long side I STOPPED. I did not sew the other short side together as we’ll need that for the next step…
Once you finish off that long end, doing a few back stitches (or whatever kind you want to do to secure the thread at the end) you’re going to take the closed end and flip the “sandwich” inside out. You can do this any number of ways but just make sure to be careful not to pop any of your stitches! Personally, I stuck my finger in the sewed small side and slowly scrunched part of that down my finger. Once it got part of the way up I readjusted and did the same thing again. A few more times after that and it was nice and inside out. Now you could end it here but if you want a collar that’s a bit more firm then grab some Poly-fil and meet me at the next step!
Now you need to be careful on this step because this is either going one of two ways. You’re either going to fill this just right and wind up with a collar that is a bit more firm than without the Poly-fil…or you’re going to wind up with a stuffed toy for your pet! Essentially, you’re going to want to SLOWLY feed some Poly-fil into the opening of the collar pushing it down with either the stuffing stick that comes with it or something else that will do the same job. Before putting more in make sure to even out the Poly-fil, if it gets compacted DO NOT continue putting more in as it will be extremely difficult to go in and stretch it out once you’ve put all of the Poly-fil in. Once you get done filling and adjusting until it’s perfect, or if you decided to skip the stuffing and are still waiting for me to finish this off…
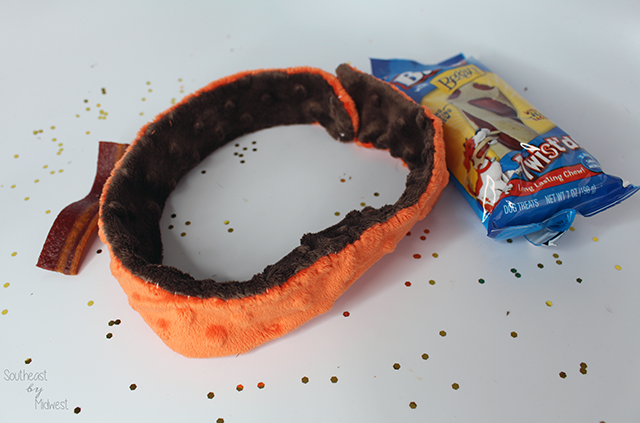
To close up the open end just tuck a small bit of the edges into the opening and bring that together, basically hiding the rough edges, and then sew that part together. Again, you can use any sewing method to do this but I continued with the same technique that I used earlier. Once that is done you can either add some velcro pieces on each end and have a velcro collar or you can sew the ends to each other, which is what I did. To sew the ends together just put one over the other and then sew through both layers. For the closure I actually sewed from the bottom up through the top and then from the top through to the bottom. I did this from left to right and then came back across from right to left and then back across one last time from left to right.
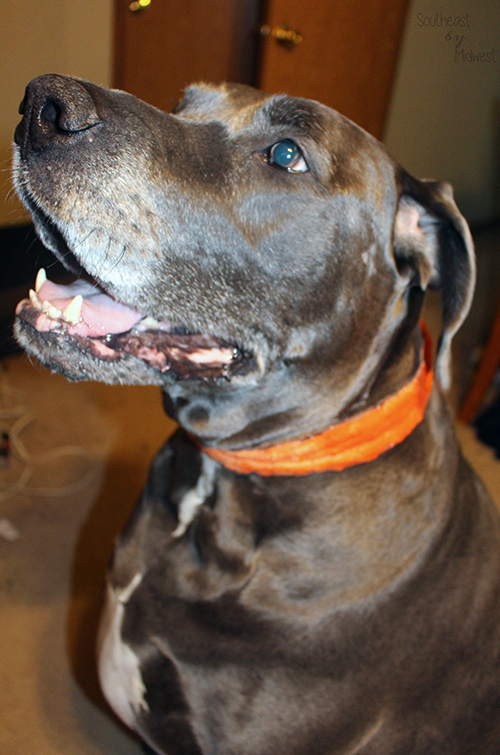
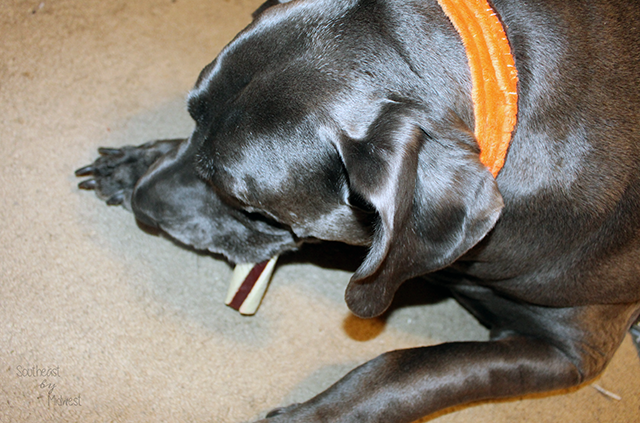
And voila you have a DIY Holiday Pet Collar. I can’t even tell you how proud Lila was of hers! Once it was finished and she realized what it was she ran to shove her head into it! She then pranced from where I put it together over to living room and sat so I could take her picture and again if you follow me on SnapChat you KNOW how big of a deal that is! If you don’t follow me on SnapChat the big deal is that usually when I try to take her photo she either ignores me or stares at the ceiling before literally rolling her eyes and turning her back on me! When I told her to go show Ruth (my mother-in-law) she pranced her way into the room where she was and showed her, again by sitting so pretty! She did so good I just had to give her one of her favorite Busy Dog Treats, the twisted ones pictured above that are twisted with the Beggin’ Strips and last longer than similar chews.
Hopefully this DIY Holiday Collar is something you’ll give a try to, if you plan to make one be sure to tell me in the comments below! If you’re looking for more ways to share the holiday love with your pets this holiday season then visit here for more inspiration! From our pet home to yours:
I love that collar. More than that, I love the idea of giving special treats to the dogs on Christmas. Why should we be the only ones who get special stuff?
Wow, wonderful collar. This is so perfect for our pets, we love it!
That’s one spoiled fur baby! I love the collar, it’s really nice and it’s perfect for the weather too. The treats sound awesome, the beggin strips are my dog’s favorite as well.
What an adorable collar! Our girl loves Purina treats
My pup would love this! There is nothing better than a fun treat for them especially at the holidays.
Our dog loves getting these as well.
Ours does as well. Purina is one of her favorite brands.
She is soooo spoiled lol
We always make sure to give our dog treats so she doesn’t feel left out.
Thanks! She’s still wearing it lol